 Seminole Siding
 New Roof Installation Built for Clearwater's Climate
A new roof in Clearwater has to do more than keep rain out. It has to survive sustained coastal wind loads, months of intense UV exposure, wind-driven rain that finds every weak seam, and salt-laden air that speeds up corrosion on fasteners and flashing. Homes in this part of Pinellas County take a different kind of beating than roofs further inland, and a roof system that isn't specified and installed with that in mind will show problems years before it should — curling shingles, rusted flashing, granule loss, or leaks around penetrations that never should have failed.
We install new roofs for homeowners in and around Clearwater with that reality built into every decision, from the underlayment we choose to how we fasten the field of the roof. This page walks through what that actually looks like, so you know what to expect and what questions to ask any contractor bidding the job.
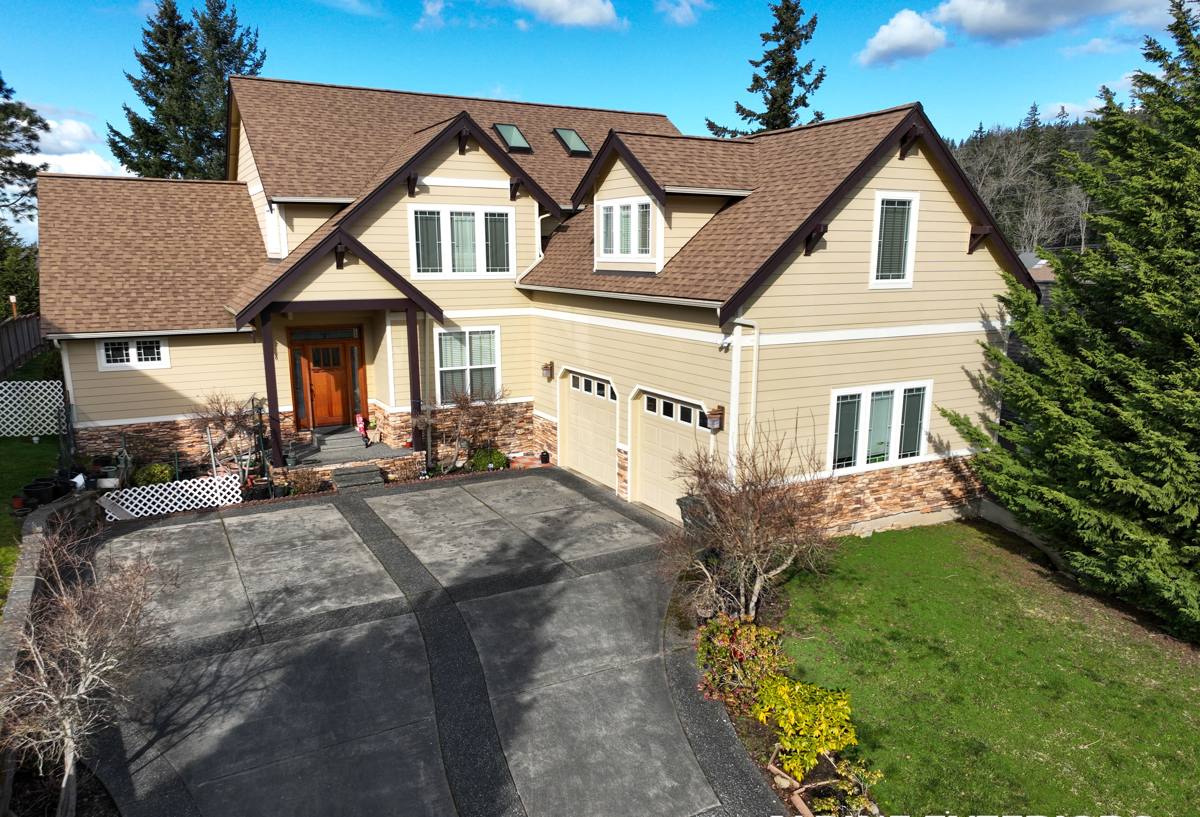
Why Clearwater Roofs Face More Stress Than a Textbook Install Assumes
Wind and Uplift
Clearwater sits close enough to the Gulf that homes regularly experience high sustained winds and gusts well beyond what inland properties see in a normal storm season. Roof failures in wind events are almost never about the shingle material itself — they're about uplift at the edges, corners, and ridge, where wind pressure is highest. A roof that isn't fastened and detailed correctly at those transition points is the one that loses shingles first.
UV and Heat
Year-round sun exposure breaks down roofing materials from the top down. Asphalt oils dry out, granules shed, and underlayment that isn't rated for the heat cycles common here can become brittle faster than the shingle warranty assumes. This is a bigger factor in Florida than in most of the country, and it's part of why we don't treat manufacturer minimums as the standard — we build in a margin.
Wind-Driven Rain
Rain that comes in sideways during a squall line or tropical system doesn't behave like rain falling straight down. It gets pushed up under shingle tabs, into nail holes, and around any flashing detail that's just "good enough" instead of fully sealed. Most leaks we're called out to inspect in this area trace back to a flashing or penetration detail, not a failure of the shingle field itself.
Salt Air and Corrosion
Being close to the Gulf means airborne salt settles on everything, including your roof's metal components. Standard fasteners, exposed flashing, and lower-grade vent boots corrode faster here than they would twenty miles inland. Material selection has to account for that, or you're replacing flashing and re-sealing penetrations within a handful of years.
What a Correct New Roof Installation Includes
A roof is a system, not a single product. Skipping or downgrading any one layer undermines the whole assembly, no matter how good the shingle is. Here's what we consider non-negotiable on every new roof we install in Clearwater:
- Full tear-off and deck inspection — we don't install over existing layers; we expose the deck, check for rot or delamination, and replace any bad plywood before anything else goes down.
- Enhanced underlayment — a synthetic or self-adhering underlayment rated for high heat and wind-driven moisture, not the minimum felt some installers still use.
- Proper drip edge and starter course — the first line of defense against wind getting under the roof edge, installed to code, not skipped to save time.
- Corrosion-resistant flashing and fasteners — around chimneys, walls, skylights, and vents, sized and sealed for coastal exposure.
- Ventilation that actually balances intake and exhaust — poor ventilation traps heat and moisture, shortening the life of everything above the deck.
- Fastening pattern matched to wind exposure — nail count and placement per the manufacturer's high-wind specification, not the standard-zone minimum.
Our Installation Process, Step by Step
1. Inspection and Honest Assessment
We start by inspecting the existing roof, attic ventilation, and deck condition, and we tell you plainly whether you need a full replacement or whether a repair is a legitimate option. We don't sell replacements to homeowners who don't need one.
2. Written Scope and Material Selection
You get a clear, written scope: the specific underlayment, flashing, fasteners, and shingle or roofing product being used, along with the wind rating and warranty terms. No verbal promises that don't make it into the paperwork.
3. Tear-Off and Deck Repair
Old roofing is fully removed, the deck is inspected board by board, and any damaged sheathing is replaced before dry-in begins. This is the step that gets skipped or shortcut most often industry-wide, and it's the one that determines how the rest of the roof performs.
4. Dry-In and Flashing
Underlayment goes down first, followed by flashing at every wall, chimney, valley, and penetration. This stage is what actually keeps wind-driven rain out — the shingles on top are largely cosmetic and secondary protection compared to a correctly flashed dry-in.
5. Roofing Material Installation
The finish material — shingle, tile, or metal, depending on what you've chosen — goes on to manufacturer spec with the wind-rated fastening pattern appropriate for this area.
6. Final Inspection and Cleanup
We walk the finished roof, check every penetration and edge, and clean the property of debris and nails before we consider the job done.
Choosing a Roofing System for This Area
There's no single "best" roofing material for every home — the right choice depends on your budget, roof pitch, HOA rules, and how long you plan to own the home. Here's an honest comparison of the systems we most commonly install:
| Roofing System | Typical Lifespan Here | Coastal Considerations |
|---|---|---|
| Architectural asphalt shingle | 15–25 years | Good value; needs high-wind rated shingle and enhanced fastening for this area |
| Standing seam metal | 30–50 years | Excellent wind and UV performance; higher upfront cost, fewer long-term repairs |
| Concrete or clay tile | 30–50 years | Durable against UV and wind when properly fastened; heavier, requires structural check |
We'll walk you through which of these fits your home, your roof structure, and your budget rather than pushing one product line by default.
Common Mistakes We See on Poorly Installed Roofs
When we inspect roofs that failed early or leaked shortly after installation, the causes are consistent:
- Standard felt underlayment used instead of a heat- and moisture-rated synthetic
- Minimum nail count instead of a high-wind fastening pattern
- Reused or patched flashing instead of new corrosion-resistant flashing
- Ventilation left unbalanced, trapping heat in the attic
- Skipped deck inspection, leaving soft or rotted sheathing under new shingles
Every one of these is invisible from the ground once the roof is finished — which is exactly why the installer's standards matter more than the shingle brand on the label.
Permits, Codes, and Wind Mitigation
New roof installations in Pinellas County require a permit and inspection, and current Florida Building Code wind provisions apply to how the roof is fastened and flashed in this area. Beyond the code minimum, a correctly documented new roof can also improve your wind mitigation inspection results, which affects your homeowner's insurance premium. We provide the paperwork and product documentation you'll need for that inspection — it's part of the job, not an upsell.
Why Hiring a Crew That Already Works in Clearwater Matters
A roofing crew that regularly works Clearwater and the surrounding Seminole area already knows the wind exposure categories, the flashing details that actually hold up to salt air, and the inspection process local building officials expect. That familiarity shows up in fewer surprises during permitting, fewer callbacks after the first storm season, and a roof that's specified correctly the first time instead of guessed at from a generic checklist. It also means we're a known, reachable business if you ever need warranty service — not a crew that worked the area once and moved on.
What to Ask Any Roofing Contractor Before You Sign
Whether or not you choose us, ask any contractor bidding your Clearwater roof these questions before signing anything:
- What underlayment are you using, and is it rated for this climate?
- What's the fastening pattern, and is it upgraded for high-wind exposure?
- Are you replacing all flashing, or reusing existing pieces?
- Will you inspect and repair the deck before installing new material, and is that priced separately or included?
- What does the manufacturer warranty actually require to stay valid, and who handles the paperwork?
A contractor who can answer these clearly and in writing is one worth trusting with a roof that has to hold up to this coastline.
If you're weighing a new roof for your Clearwater home, we're happy to take a look, walk you through your options honestly, and put together a written estimate — no pressure, no obligation. Use the form below to get started.