 Seminole Siding
 Belleair Bluffs Siding Takes a Different Kind of Beating
Belleair Bluffs is a small, tightly-built community tucked into the Pinellas County peninsula, close enough to the Intracoastal Waterway and the Gulf that salt-laden air is a daily fact of life, not an occasional nuisance. Add in the intense year-round Florida sun, the wind-driven rain that comes with almost every summer storm, and the real risk of hurricane-force winds during the June-to-November season, and you have a climate that is genuinely hard on exterior siding. This isn't a place where siding just needs to look decent — it needs to physically hold up.
Homes here see a combination of stresses that inland Florida properties don't deal with to the same degree: constant humidity that never fully lets materials dry out, UV exposure that breaks down pigments and coatings faster than in milder climates, and airborne salt that accelerates corrosion of fasteners, trim, and any exposed metal. When siding starts to fail in Belleair Bluffs, it's rarely one cause — it's usually several of these factors working together over years.
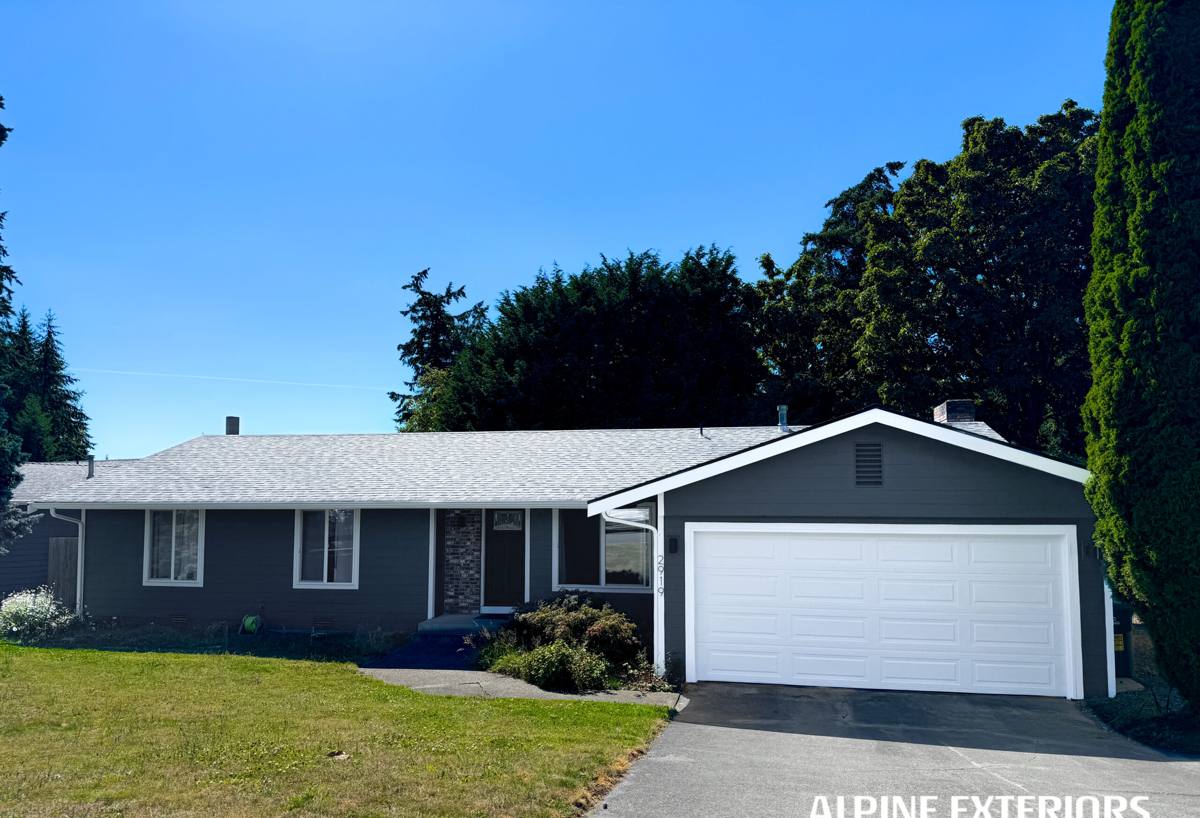
Signs Your Siding Needs Repair, Not Just a Look
A lot of siding damage in this area starts small and stays hidden until it isn't. Knowing what to look for — and catching it early — is the difference between a straightforward repair and a much bigger job.
What to check for
- Soft or spongy spots when you press on the siding, especially near the bottom courses or around windows and doors
- Visible cracking, splitting, or buckling panels, particularly after a storm with heavy wind
- Bubbling, peeling, or chalky paint that won't come clean when wiped
- Gaps opening up at seams, corners, or trim joints
- Staining or dark streaking that suggests water is tracking behind the siding rather than running off it
- Visible rust bleeding from fastener heads or trim screws
- A musty smell along an exterior wall inside the home, which often points to moisture intrusion behind the siding
Any one of these on its own might be minor. Several together, especially on the same wall, usually means water has been getting behind the siding for a while and the damage extends further than what's visible from the outside.
What a Correct Siding Repair Actually Involves
A repair that just covers up the visible problem is a repair that fails again within a year or two. Done right, siding repair in a coastal-influenced area like Belleair Bluffs has to address what caused the damage, not just the symptom.
Diagnosis before demo
Before anything gets removed, the damaged section and the area around it need to be inspected — not just the siding itself, but the house wrap or weather barrier underneath, the flashing at windows and doors, and the framing if there's any sign of rot. Cutting into siding without checking what's behind it is how small repairs turn into callbacks.
Matching the water management system
Siding is one layer of a larger water-shedding system. Behind every properly installed panel is a weather-resistant barrier, correctly lapped flashing, and drainage paths that let any moisture that does get in find its way back out. A repair that patches the visible panel but ignores a torn house wrap or improperly lapped flashing hasn't actually fixed anything — it's delayed the next failure.
Fastening and clearances
James Hardie fiber cement has specific fastening patterns, nail penetration requirements, and minimum clearances from grade, roof lines, and other surfaces. These specs exist because Pinellas County's humidity and storm exposure punish shortcuts. A repair has to follow the same install specs as new construction, or it becomes the weak point in an otherwise sound wall.
Patch, Panel Swap, or Section Replacement — Matching the Repair to the Damage
Not every repair is the same scope, and a contractor should be able to explain clearly which category your situation falls into and why.
| Damage Type | Typical Repair Approach | What to Watch For |
|---|---|---|
| Isolated impact damage (debris strike, minor crack) | Single board or panel replacement | Color and texture match on ColorPlus finishes |
| Localized water staining or soft spots | Removal of affected boards plus inspection of barrier/flashing behind | Confirming the moisture source is actually resolved, not just the board |
| Recurring damage at one corner or wall | Section replacement including flashing and barrier repair | Whether the underlying cause (grading, gutter overflow, flashing gap) is addressed |
| Widespread cracking, fading, or fastener failure across a wall | Full wall or full-house re-side evaluation | Whether repair cost is approaching replacement cost |
Part of an honest repair estimate is telling a homeowner when a patch makes sense and when it doesn't — chasing recurring problems with small fixes year after year usually costs more over time than addressing the whole wall once.
Why We Repair With James Hardie Fiber Cement — And Only Hardie
We install exclusively James Hardie fiber cement siding, and that standard carries over to repair work. If your home already has Hardie siding, repairs are usually the most straightforward part of this: matching boards and ColorPlus finishes to the existing product line and getting a clean, durable result.
If your home has vinyl, LP SmartSide, cedar, or another material, we'll be upfront that our repair work centers on fiber cement, and for other products a repair may only be a short-term fix. We made the decision years ago to standardize on Hardie because, installed correctly, it holds up to exactly the conditions Belleair Bluffs deals with: it's non-combustible, it doesn't swell or rot the way wood-based products can when they take on repeated moisture, and its factory-applied ColorPlus finish is engineered to resist UV fading far longer than field-applied paint. For a coastal Pinellas County property, that combination matters more than it does somewhere drier and cooler.
When a repair calls for new material, we use Hardie's HZ5 product line, which is engineered specifically for high-humidity, storm-exposed climates like ours — it's built to resist moisture-related damage better than Hardie's standard zone products, which matters when you're patching into a wall that's already shown it can take on water.
Our Repair Process, Start to Finish
- On-site inspection. We look at the damaged area and the surrounding siding, checking for signs the problem extends beyond what's visible.
- Diagnosis of the cause. We identify whether the damage came from impact, wind, water intrusion, fastener failure, or a combination, so the repair actually solves the problem.
- Written scope and estimate. You get a clear explanation of what's being repaired, why, and what it involves — no vague line items.
- Careful removal. Damaged boards come off without disturbing more of the surrounding siding than necessary.
- Barrier and flashing repair. Any compromised house wrap or flashing gets corrected before new siding goes back on.
- Installation to spec. New Hardie boards go in following manufacturer fastening, clearance, and joint requirements.
- Finish and cleanup. Caulking, touch-up, and site cleanup so the repair blends in and the property is left as we found it.
What Drives the Cost of a Siding Repair
| Factor | Why It Matters |
|---|---|
| Extent of hidden water damage | Rotted sheathing or framing behind the siding adds carpentry work beyond the siding itself |
| Accessibility of the damaged area | Second-story sections, tight side yards, or areas near landscaping take more time and equipment |
| Color and texture matching | Older ColorPlus finishes can weather slightly differently than current production runs |
| Scope — patch vs. section vs. wall | Labor and material scale directly with how much has to come off and go back on |
| Flashing and barrier condition | Repairing the water management layer, not just the siding, adds material and labor but prevents repeat failures |
We won't quote a number without seeing the damage in person — anyone who does is guessing. What we can tell you is that the biggest cost swings almost always come from what's discovered once the damaged boards come off, which is exactly why the inspection step matters.
Why It Matters to Hire a Crew That Already Works in Belleair Bluffs
Siding repair isn't just a materials question — it's a familiarity question. A crew that regularly works in Belleair Bluffs and the surrounding Pinellas County communities has already seen how homes here typically fail: where water tends to collect, which wall orientations take the worst of the salt air and afternoon storms, and what corners tend to get cut on older installs. That experience shows up in faster, more accurate diagnosis and fewer surprises mid-repair.
A short checklist for vetting a repair contractor
- Do they inspect the area behind the siding, not just the visible damage, before quoting?
- Can they explain what caused the failure, not just what they plan to replace?
- Are they licensed and insured to work in Pinellas County?
- Do they give a written scope of work, not just a verbal estimate?
- Do they stand behind the repair with a workmanship warranty in addition to the manufacturer's material warranty?
A contractor who can't answer these clearly is a contractor who's guessing along with you.
After the Repair: Keeping Belleair Bluffs Siding in Good Shape
Once a repair is done correctly, upkeep is simple but shouldn't be skipped. Rinse siding periodically to clear off salt residue, especially on walls facing open water or prevailing wind. Keep gutters clear so water isn't overflowing onto siding below. Trim back landscaping that traps moisture against a wall. And after any significant storm, a quick visual check of the siding — especially corners, trim, and low courses — will catch new damage while it's still a small, cheap fix rather than a bigger one.
If you're seeing cracking, staining, soft spots, or storm damage on your Belleair Bluffs home, we're happy to take a look and give you a straight answer on what's going on and what it would take to fix it right. Reach out for a free, no-pressure estimate using the form below.